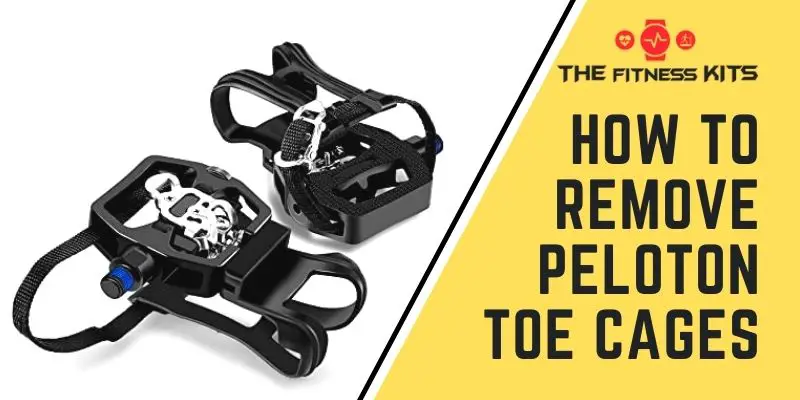
If you’ve ever installed the peloton toe cages then let me save your time. You can easily remove the cages by following the complete opposite procedure of installing them.
But you know what, I have seen people struggling with removing toe cages and thought ‘Ahh’ it’s pretty easy to do so why not helping them?
So, if you’re quite new to this stuff or you weren’t there while installing the cages, here you’ll get to know how to remove peloton toe cages in detail.
How Do Toe Cages Work?- The Surface Level Talks
Let’s just have a basic understanding of how the peloton toe cages work and why you need them before we dive deep.
The toe cages let you work out using peloton bikes without specific cycling shoes. So, you can do exercise in your regular shoes. And the plus point is, your family members or guests can also use the bike without worrying about whether their shoes fit the pedals or not.
Therefore, when you install the cages, you are ready to work out wearing any shoes on the earth you want!
But maybe you’ve mistakenly attached the toe cages to the wrong pedals, or maybe you are going to move the Peloton bike upstairs, so you need to remove the cages.
So, let’s move onto the steps of removing the cages.
4 Easy Steps On Removing Peloton Toe Cages/ Toe Clips
These 4 steps are so easy to follow that anyone can remove the cages within a few minutes.
Step 1: Take the Straps Apart from The Toe Cages
Before even taking off the straps, you have to get off the bike if you’re already not.
Remember when you installed the toe cages, you had fastened the straps? Now, you’re going to do the opposite, meaning you loosen the straps and remove them from the toe cages
But this step is only for the toe cages that do not come with straps. Cages that come attached with straps are self-sufficient. For those bikes, you don’t need this step, you can jump to the second step.
Step 2: Find Where the Toe Cage Bolts Are
Some bolts fix your toe cages to the pedals. You can locate the bolts simply by flipping the pedals. While facing the pedal’s bottom, you should notice the tiny bolts.
Step 3: Unscrew the Bolts
In this step, you’ll need help from a 3mm Allen wrench. Try to unscrew the bolts. Are they too tight to unbolt? It happens when you use the toe cages for a long time.
In this situation, you can use pedal oil and simply make the grip on the pedals soft. Then, it will be easy to loosen the bolts, turn them anticlockwise to make it happen.
Step 4: Remove the Toe Cages
Now, remove the cages, and you are done!
But what if the toe cages come with the pedals of your peloton?
In this case, you have to loosen the pedals first. To do so, use the Allen wrench and turn the right-side pedal clockwise and anti-clockwise for the left pedal.
Once you take off both the pedals and the toe cages, you may want to install the pedals. It’s pretty simple, just counter the process you removed the pedals.
So, you have successfully removed the peloton cages! Did you notice that it’s simply the counter process of how to install peloton toe cages? Yes, it’s that simple!
More Information You May Need
Frequently Asked Questions(FAQs)
Do pelotons come with toe cages?
Yes, the brand has toe cages that are pretty compatible with the peloton pedals. However, you can still use other toe cages by changing the peloton pedals and easily suit the specific toe cages.
How do you attach toe cages to the peloton?
It’s simply the opposite of how you remove the cages. You’ll attach the straps, tighten the bolts, and this is it.
Also Read: How To Clean Peloton Handlebars- Why Most Of User Recommend This?
Conclusion
Since you are end of the article, the answer to ‘how to remove peloton toe cages?’ is not greek to you anymore, right?
Dealing with peloton toe cages is not a big deal if you follow the instructions and apply them in the right way. Just be careful while using the wrench.
Good luck mate!
- Garmin Vector 3 Vs 3S – What Happens When Two of The Best Options Clash?
- Camelbak Ice Vs Chill: Pick The Exclusive Water Bottle
- Stages 105 Vs Ultegra: Which one is preferable?
- Crit Bike Vs Road Bike: Ultimate Review !
- Look Keo 2 Max Vs Classic– Which One Should You Pick?
- How to Track Indoor Cycling on Garmin – Guide for Beginners
- How to Sync Garmin Connect with Google Fit? Problem & Solution
- 7 Best Wheels for Crit Racing | Get Ready with Latest & Stiff Supporter
- Explore 5 Best Cheap Power Meter With Updated Buyers Guide
- 7 Best Garmin Bike Computers 2021 With Full Reviews

