Zwift helps to make your indoor riding a more real feel. The Zwift app works as a virtual workout training instructor. You can set your health goal and ride with the Zwifter around the world.
You can use Zwift connecting your smartphone, tablet, PC, laptop, or even Apple TV. However, if you don’t know how to set up Zwift on laptop then, you can read this and use your Zwift very easily.
In this writing, you will get to know about a quick process of setting Zwift on your laptop.
So, let’s know that.
How to Set up Zwift on Laptop?
Zwift is giving such opportunities to take your indoor workout to an expert level. Connecting Zwift, you can connect to all Zwifter community and get inspiration.
Using your laptop, you can have both your perfect riding and check your riding info from a clear and comfortable view. And to enjoy this virtual platform of the indoor ride, you need to set up the Zwift before starting the workout.
What You Will Need
At first, let’s know the equipment you will need.
1. A Laptop
The laptop-your primary device. To run the Zwift on your laptop, you won’t need a very high configuring laptop. You can have anyone including a minimum of Dual-core processor.
In the case of RAM, if your purpose of using this laptop is only for Zwift training, then 4GB of Ram is quite enough.
In terms of the operating system, you will need at least Windows 7 and for MacOS 10.10 minimum requires.
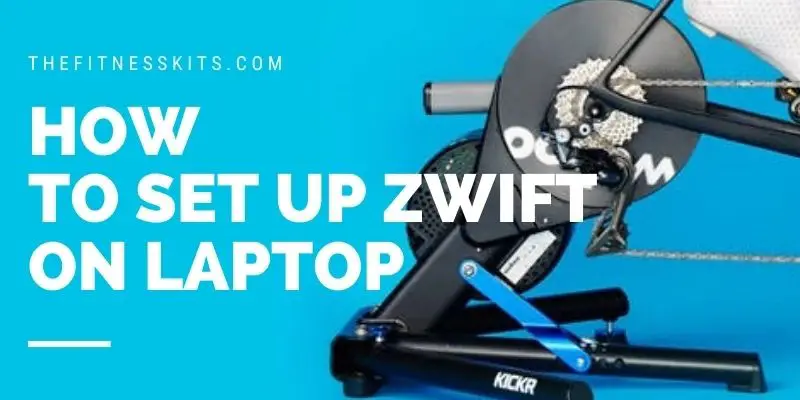
2. A Trainer
Secondly, the central part of your workout-a trainer bike. Well, you can find two significant types of trainer bike. Smart trainer & Classic trainer.
Classic trainer:
Classic Trainer bike is the stationary bike within a budget. If you have a speed sensor, a cadence sensor, then you can have your riding with full-on riding benefits. If you can, get a heart rate monitor also to make the cycling practice a perfect one.
Smart trainer:
Oh, if you have the smart trainer bike, then you can rock on. Smart-trainer bike has all the necessary tracking options. The additional benefit you will get here is the power count feature.
So, in the smart trainer spinning bike, you can enjoy your riding with entire performances as you won’t need to connect any additional tracking devices.
Smart bike or classic trainer bike, if you wish, can have any Zwift trainer bike from Zwift store. They offer 30 days of the free trial also. Or you may use any stationary bike peloton also.
3. Zwift App
The last one you need is the Zwift app. Set up the Zwift on your laptop and enjoy your cycling with precision.
Set up Process
Now, check out the steps below to set up Zwift on your laptop.
Step-1: Download & Install Zwift App
To set up the Zwift on your laptop, firstly, go to Zwift apps, download. You will find separate download option for windows and macOS. Download it and then install the software. Or directly select the install button to download and install it quickly.
Step-2: Launch the Zwift
After the installation, launch the Zwift app.
Step-3: Log in to Your Zwift Account
After launching the Zwift, you will see a login page in front of you. Log in to your Zwift account. If you didn’t open an account, meaning not a Zwift member, then create an account.
For that, select the option on the upper right side of the login page. And create your account, providing all the information.
Step-4: Accept the License Agreement
Login to your account, and you will see a welcoming screen. Select ‘Let’s Go’ from the lower right side.
And then, a license agreement page will come up. Select Accept and continue to enter into the world of the Zwifters community.
Step-5: Connect Your Trainer
Now connection time starts. Connect your smart trainer through Bluetooth. Make sure you already turned on your Bluetooth option.
Alternative to Step-5
You can also connect your trainer equipment with ANT+ dongle. Mac users might require it.
Follow the steps below to connect with ANT+ Dongle.
- Take any free USB port, or you can also use a USB extension cord.
- Enter the ANT+ Dongle into the extension cord.
- Connect the USB port to your laptop.
- Finally, keep the other end of the USB port that is the ANT+ dongle part near your trainer.
Step-6: Pair Your Devices
Now, pair your devices from the paired device options.
For the smart trainer bike, select the Power source option. And you will see the trainer bike is connected and being controlled by the Zwift.
For the classic trainer bike, you have to select the speed sensor or Classic Trainer option. Select search ans it will load and show the speed sensor or the cadence sensor.
Select your one from them. After that, you will get the option to choose your trainer. You can select a suitable one.
Well, here, you may connect as many trackers you have with you. In the app, you will get enough choosable options for connecting your heart rate monitor, cadence sensor, or controllable trainer, etc.
You can connect according to your equipment. After pairing, click ok and select start to ride.
For higher benefit, place the Dongle end as much closer to the trainer as you can. It will help from having any issue of connection drop in the middle of your riding.
You have set up the Zwift. Now, you can choose any riding plan or training option and enjoy your indoor cycling with more fun, enthusiasm, and a competitive platform.
Verdict
Zwift is an indoor cycling app to make your indoor workout more real. And the community is conducive. You can challenge, race, and set your riding plans and get riding support all the time.
Hence, to use the app with full-on benefits if you need to know how to set up Zwift on laptop, then read this article. You will get the best set up guide and enjoy your indoor cycling without any issues.
- How to Sync Fitbit to Apple Health – 8 Simple Steps for You
- How to Solve Fitbit Alta Won’t Turn on?
- How to Change Time on Fitbit Charge 2
- 9 Effective Exercises Alternative to Step Ups!
- How to Create a Training Plan in Garmin Connect
- Garmin 245 vs 645 || Which Is The Best Smartwatch For Runners?
- StairMaster vs Treadmill | Climbing stairs or walking?
- Finding The Best Bluetooth Heart Rate Monitor for Zwift – Top 7 Picks
- 7 Best Trainer For Zwift- Get The Suitable One With Updated Buyers Guide
- Our Ultimate Best Cooling Fan For Zwift – Top 5 Popular Picks