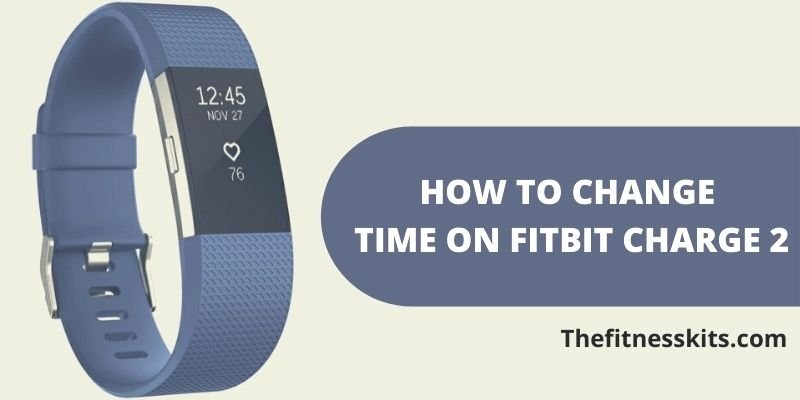
Are you having trouble changing time on Fitbit Charge 2? Read the article below and know the simple
The default display screen of Fitbit is the clock. So, if you do not set the time correctly, the wristband looks very odd. Therefore, it is essential one to set the time or change the time whenever you are going to other places.
Sometimes, this time changing on Fitbit seems more challenging yet. So, we have written the article in such a way that by reading it you will get to know the simple step by step process on how to change time on Fitbit Charge 2.
The Tutorial- How to Change Time on Fitbit Charge 2
To set up a Fitbit fitness tracker, you need to install the Fitbit app and then connect your Fitbit device using Bluetooth. Now when you’re ready with the installments now, let us get started for the process on how to change time on Fitbit Charge 2.
Step 1: Open Fitbit App & Select Your Device Charge 2
Open your Fitbit App from your smartphone, and you will see an interface shown in the image below. Select your device Charge 2.
Step 2: Tap on Profile/Account
Tap on your profile or the account option that is on the left corner of the screen.
Step 3: Scroll Down & Tap Advanced Settings
When you enter into the account, scroll down and tap Advanced Settings option
Step 4: Turn Off Set Automatically Option
When you are in the Advanced Settings options, you’ll see here the Set automatically option turned on. You need to tap the green clor indicated slide and turn off this option.
Step 5: Tap Time Zone
Now when you have turned off the set automatically option, tap the Time Zone And select your zone to change the time.
Step 6: Sync & Refresh
After changing the time zone, go back to the home page and pull down the page from upside to sync & refresh.
Step 7: Turn on Set Automatically
After syncing, go again to the advanced setting option following the same steps above. And turn on the Set Automatically option by tapping the slide button on the right. You will see a dialogue box comes up, and you need to tap ok.
Go back to the home page and pull the homepage down to sync & Refresh again.
Now you will see your time changed.
Changing Time Format
You can even change the time format like 24-hour format or 12-hour format on your Fitbit Charge 2. For this, follow these steps carefully.
Step 1: Go to Fitbit.com & Select Log in Option
To change the time format, go to fitbit.com and select the login option to log in to your account.
Step 2: Select Settings
After you logged in to your Fitbit account, Select the settings option having gear like icon and select settings inside also.
Step 3: Select Personal Info & Scroll down
Inside the settings option, select the personal info from the left side and scroll down.
Step 4: Click the Arrow of Clock Display Time
After you scroll down, you will get to see the clock display time option under the advanced settings option. Click the arrow right beside it.
Step 5: Change the Format
After clicking the arrow, you will see two options –one for 12-hour format and another for 24-hour format. Now choose the option you want by clicking on the button beside them.
Step 6: Select Submit
After setting the time format, scroll down, and click the submit button. Now your time format is changed.
After changing the time format here from the browser, go to your mobile app and sync the page to set the changes.
These are the steps to change time on Fitbit Charge 2.You need to follow the steps serially and do every task following these.
Make sure every time you sync and refresh the page whenever you change any options. Otherwise, your changing will no longer save into the Fitbit device. While changing any settings, you have to be careful that your Fitbit device is close to the phone. And always keep the Bluetooth turned on.
Final Verdict
The article is about how to change time on Fitbit Charge 2. We hope this article will help you to set your time on your Fitbit and give you trouble-free fitness tracking!
- How to Track Indoor Cycling on Garmin – Guide for Beginners
- How to Sync Fitbit to Apple Health – 8 Simple Steps for You
- How to Solve Fitbit Alta Won’t Turn on?
- 9 Effective Exercises Alternative to Step Ups!
- How to Create a Training Plan in Garmin Connect
- Garmin 245 vs 645 || Which Is The Best Smartwatch For Runners?
- Garmin Fenix Vs Vivoactive – Who Owns the Fitness Trackers World?
- What Are The Best Heart Rate Monitor For Apple Watch 2021?
- 7 Best Heart Rate Monitor for Garmin Edge 520 with a Complete Buying Guideline
- Best Fitbit Sleep Tracker Reviews- Popular 7 Picks To Check Now!